Create Power Apps Model-driven Apps - Part 1

Part 1 - Set up Dataverse tables structure

Create Power Apps Model-driven Apps is a series of two articles that will show you how to create a Model-driven app that is based on the Dataverse structure. 

  • 1st article – Setting up Dataverse structure
  • 2nd article – Creating and testing Model-driven App

This is 1st article of the series. Let’s start!

What you must know?

Model-driven Apps work very well with predefined data model. This is why I suggest creating the Dataverse tables structure first before you jump to the creation of the application step. What is more, you must think about the goal of the application and its limitations. 

Model-driven Apps:

  • Don’t allow you to customize the layout of the application,
  • Allow you to perform many different actions on data source records, like:
    • Create
    • Read
    • Update
    • Delete
    • Edit in Excel
    • Filter
    • View
    • Group
  • Allow you to create business processes to manage your case in an organized manner,
  • Allow you to export data,
  • Work with Dataverse,
  • Support all customizations you would make in Dataverse, like:
    • customize views
    • customize forms
    • create security roles
    • customize relationships
    • change field labels
    • etc.
  • Allow you to customize the application’s navigation.

I made an article comparing Model-driven Apps to Canvas Apps in Power Apps. This article is very concise but dense in knowledge at the same time; you should definitely check it out. Here is a link: Power Apps – Canvas Apps vs Model-driven Apps – When to use?

Those are simple but, at the same time, crucial factors of Model-driven apps. There are obviously many more things, but I cannot enumerate them all here. 

So, if your goal is met considering Power Apps Model-driven apps pros and cons, you can begin the implementation.

Dataverse implementation

As I mentioned, we must create tables before jumping into the application’s creation. You can now see that the implementation process is different from creating a Power Apps Canvas application.

To start, let’s create a solution! The solution will help us organize components (like tables or application) in an organized way. Solution will also enable the migration of a project’s components between environments.

Our Goal

Let’s say we have an IT department in a company. And in this department, IT specialists manage and store information about the company’s IT equipment. But they manage that information using Excel spreadsheets. We want to organize this and provide our IT department with an application to manage and securely store the data in Dataverse.

This article will create a simplified Dataverse data model and the Model-driven application. Security, edge cases, and other work are not a part of this article.

Let's create a solution

To create a solution, go to make.powerapps.com and choose “Solutions” from the left navigation pane.

Click on “+ New solution” to begin.

Now, give a solution a name and create a publisher. The publisher determines who create the solution and what is its purpose. The publisher’s prefix is added to all components created within the solution, making them easily recognizable.

Give your publisher a name and click “Save.”

Now, choose the publisher and click “Create.” This will create a solution for us.

Creating a table

At this point, we have our solution ready. Let’s create some tables for our scenario.

To do this, go to “+ New” -> “Table” -> “Table”. This will enable you to create a table.

We will create two tables:

  • IT equipment list – this table will contain the information about available equipment to choose from in the IT equipment tracker table.
  • IT equipment tracker – this table will contain information about employees and equipment assigned to them.

We will also need to add a “User” table to assign equipment to employees.

So, let’s create an “IT equipment list” table. This is really straightforward. Just give it a name and hit the “Save” button. We don’t provide any columns. We will use the “Name” column, which is provided with a table.

Then, create an “IT equipment tracker” table.

Adding existing table to the solution

We have both our custom tables created. Now, let’s add the “User” table to the solution.

To do that, go to “Add existing” -> “Table.”

We have both our custom tables created. Now, let’s add the “User” table to the solution.

To do that, go to “Add existing” -> “Table.”

Remember! Do not include all objects in a solution. You don’t need to. You can just add only those components that you will be customizing. The “User” table is also present in the target environment, and all standard components are there waiting. So, there is no need to include all components.

I will add a few components to show you how to do this, but if you are not going to customize any of the User’s table components – don’t include them in a solution.

To choose components, click “Select objects”.

Go through columns and include columns you want or columns you added.

You can also add views to the solution. Go to “Views” tab and choose the customized view.

The same is true for forms. Choose a form you want to include in a solution.

After that, click “Add” at the bottom and finally click “Add” again. This action will add a “User” table with selected components to the solution.

Tables customizations - columns, forms, views

We must customize our tables, provide customizations, and add columns, views, and forms.

Remember! Views and forms visible in Model-driven app must be customized in Dataverse. This is different from Power Apps Canvas Apps. Before creating the Model-driven app, customize a table, and provide the fields, views, and forms you need.

We want to change only the form for our “IT equipment list” table. We want to add some default fields to the form, and this will be enough. 

We will use the standard “Active IT equipment trackers” view, and the “Name” column.

We don’t need to create a new form; we can use the current “Main form” which is prepopulated. Just go to “Forms” and then click “Information” next to the “Main” form type.

Add some fields to the form as I did here.

Finally, click the “Save and publish” button to save changes.

In this step, we must add columns to the “IT equipment tracker” table. To do this go to the solution, choose the “IT equipment tracker” table, and click “+New” -> Column.

Let’s add three columns:

  • Employee – a column that will indicate to who specific equipment is assigned
  • Item – what item is assigned
  • Assignment date – this is self explanatory

When columns are ready, we must customize the form. To do this, let’s open the table and click “Forms”.

Remember! If you don’t want a “Default” column to be mandatory in a form, you must go to the settings of the column and change the “Required” to “Optional”.

Now, let’s go back to the form edition. We don’t want to add a new form. We will use the “Information” main form. Choose it from the list to edit it.

I added those fields visible below, and my main form is ready!

Finally, create a view. We want to add some fields that are relevant to the business process.

Click “+New view” and provide a name.

Provide changes to the view and mark this view as the default view – this is very important.

This step concludes our Dataverse customizations. Our structure is ready. 

In the following article, I will show you how to create a Model-driven App based on the prepared structure!

Summary

Model-driven apps are always based on Dataverse data sources. It can be surprising that, as a matter of fact, 80% of the work made in a Model-driven App is done within the Dataverse editor. In this article, we built the whole structure, customized tables, views, and forms. We also added a User table that will help us manage IT equipment. It wasn’t that hard, wasn’t it? 

In the following article – which will be linked here when it’s ready – I will show you how to create a Model-driven app based on a structure we built today. Stay tuned for that!

So, finally, we are at this point where I should thank you for your time and for reading this article. Feel free to rate this article and comment if you liked it. If you have any questions, feel free to contact me (via contact@poweruniverse.org), but first, you may be interested in joining a Newsletter. Hmm? (Sign up here) If you already did, wow, thanks, thanks a lot 

Via Newsletter, I am sharing insights into my work, plans for upcoming weeks, and knowledge about Power Platform Universe and the IT world. If you are interested, feel free to join! I am going to send the latest Newsletter to everyone who enters!

See you!

About the author

Daniel Ciećkiewicz

FOUNDER

I am a Senior Power Platform Consultant focused on Dataverse, Power Apps, and Power Automate. I was also a Team Leader responsible for the Power Platform Team and their development paths. 

In my private life, I like video games, sports, learning & gaining knowledge, and a taste of good Scotch Whisky! 

Ooo, I almost forgot, I love our Polish Tatra Mountains!

Categories
Top 3 articles
Newest articles
These May also interest you:
0 0 votes
Article Rating
Subscribe
Notify of
guest

1 Comment
Oldest
Newest Most Voted
Inline Feedbacks
View all comments
trackback

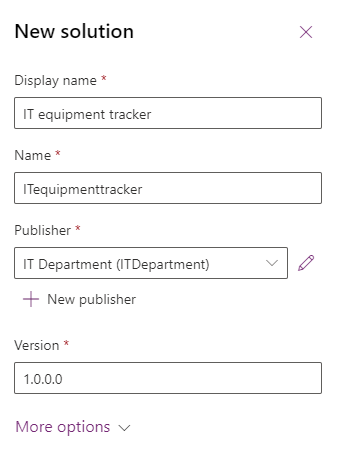
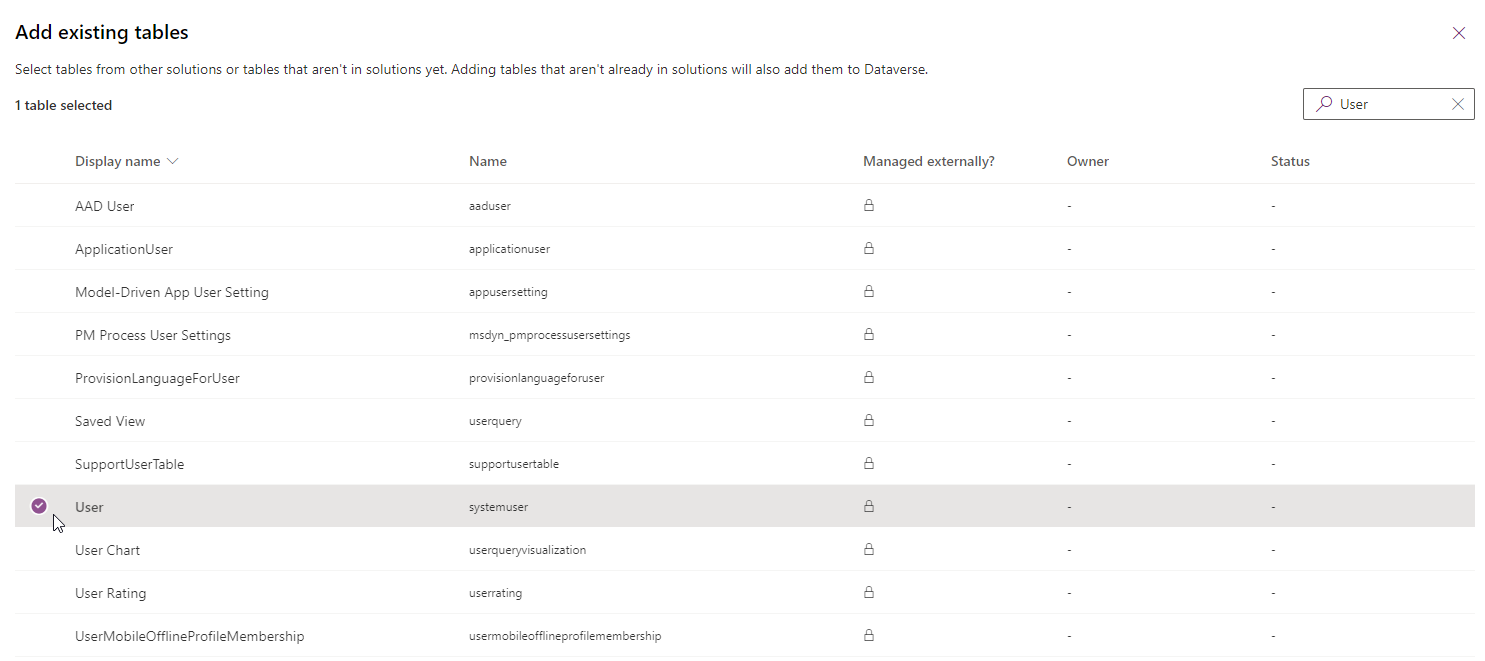
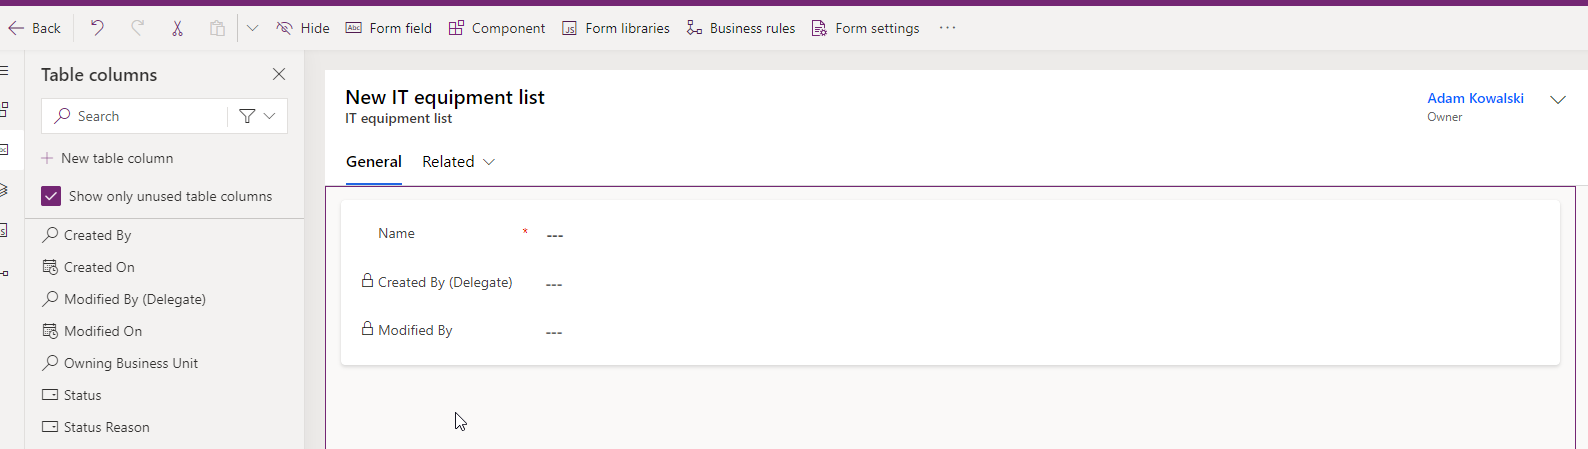
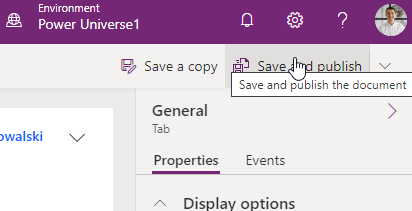
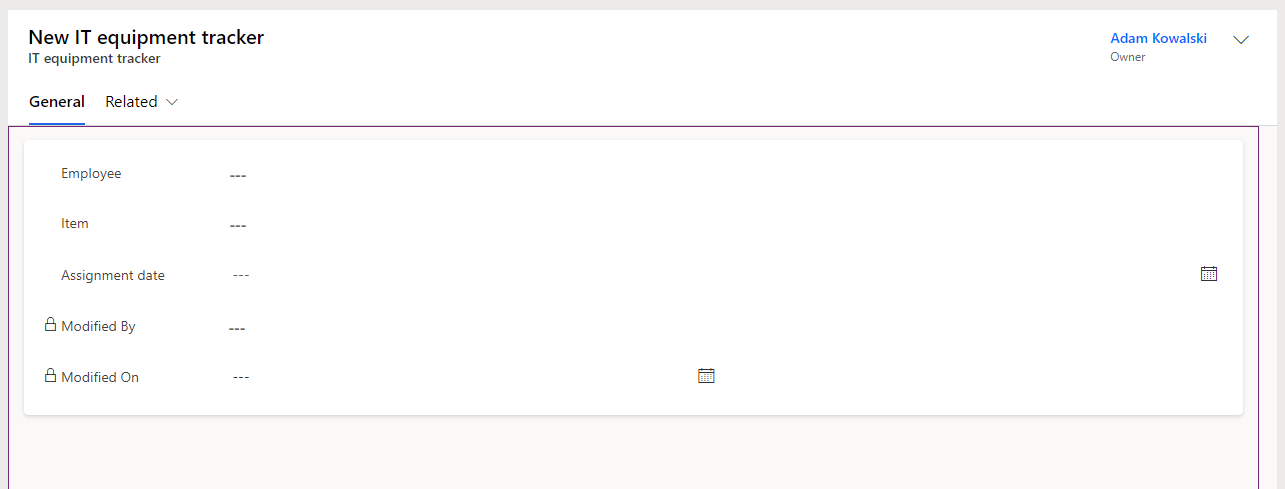
[…] In this article, we will create Power Apps Model-driven App based on the Dataverse structure we created in the last article. You can check out this article here: Create Power Apps Model-driven Apps – Part 1. […]

1
0
Would love your thoughts, please comment.x
()
x