Create a chatbot with Power Virtual Agents
Daniel Cieckiewicz
Chatbots, huh?
Nowadays, chatbots are extremely helpful and essential, and almost every severe business runs some chatbot.
Chatbots save time – this is the thing that helps us focus on other things. Power Platform created a tool, Power Virtual Agents (PVA), that enables you to host your chatbot. You can configure it to answer questions for whatever topic you want. You can publish it to many different platforms and sites. And as far as it is low-code, it’s pretty easy to set it up!
I will show you how to create a chatbot with Power Virtual Agents in this article!
Let’s jump into it right away!
Power Virtual Agents lets you create powerful AI-powered chatbots for a range of requests—from providing simple answers to common questions to resolving issues requiring complex conversations. Engage with customers and employees in multiple languages across websites, mobile apps, Facebook, Microsoft Teams, or any channel supported by the Azure Bot Framework.
Microsoft

Let's create a chatbot together
The problem
To be clear, our chatbot will help us answer fundamental questions regarding the integration coming soon! If you have organized an integration before, you know how frustrating it is to answer all questions people may ask personally. It is such a waste of time.
We will help the organizer and we will create a simple chatbot that will address the fundamental questions:
- What is the location of the integration party?
- When the integration takes place?
- What is the plan for the integration?
- How can I get to the integration?
- How much will the integration cost me?
Let's start
To create a chatbot navigate to: https://web.powerva.microsoft.com.
The window is going to be opened:
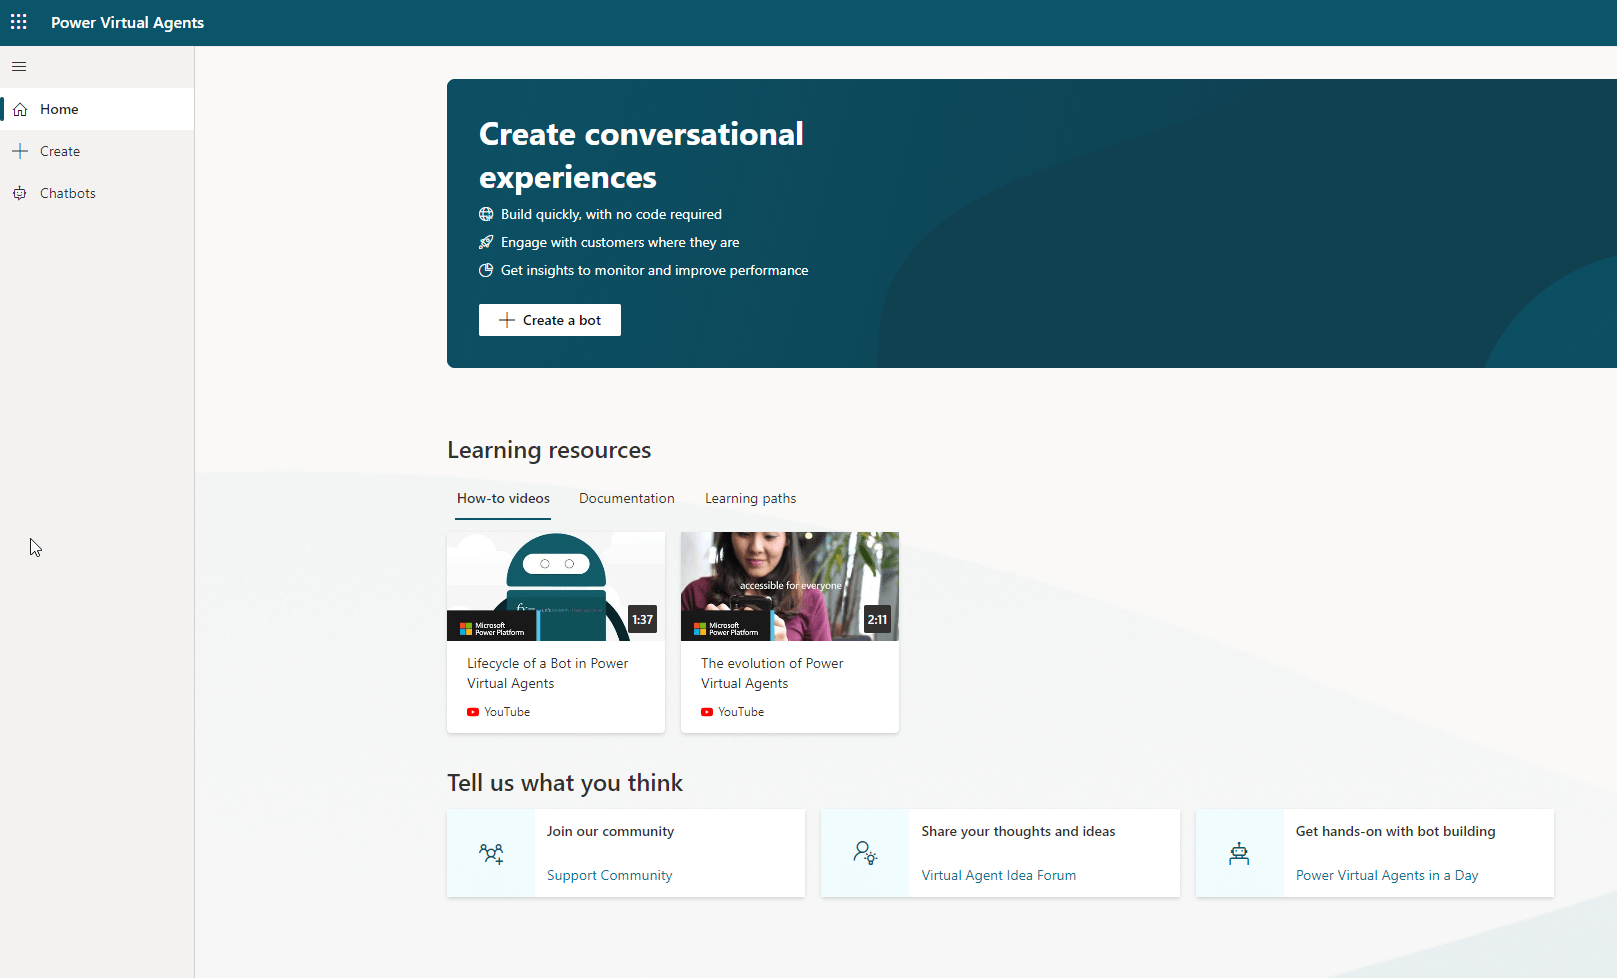
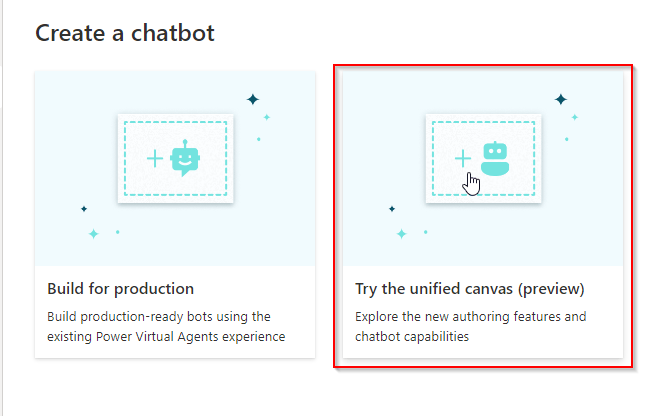
To create a bot click “+ Create” on the left panel and then choose “Try the unified canvas (preview)”.
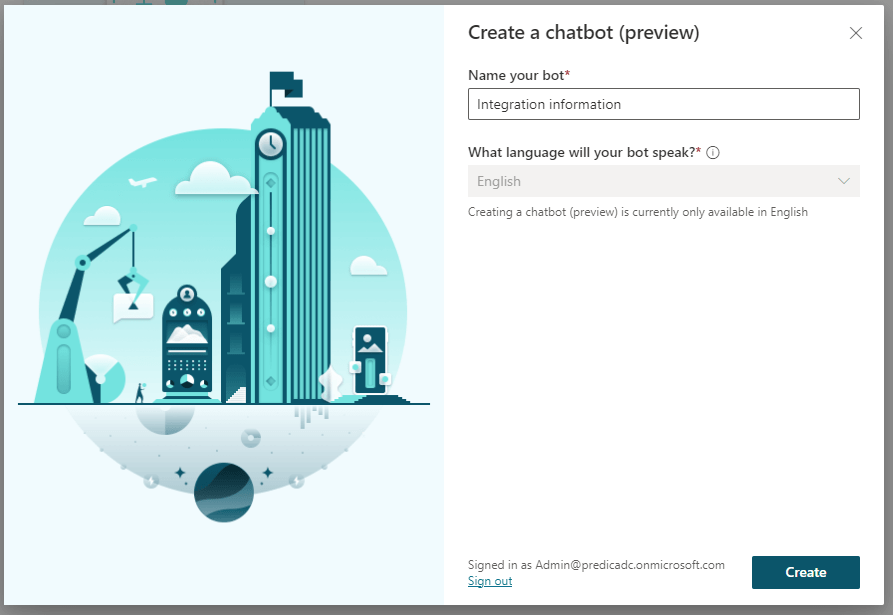
Finally, provide a name for your chatbot and click “Create”. Then, we will start configurating the bot.
This is how it should look like:
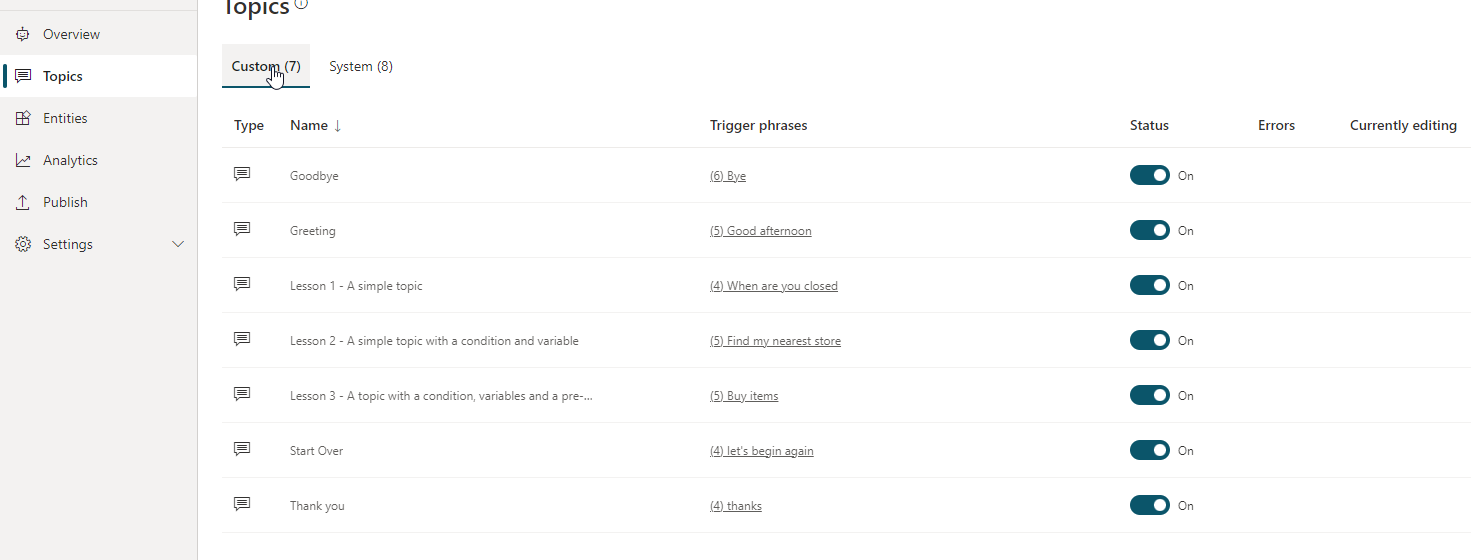
We can remove some unwanted topics from the list. Finally, we get:
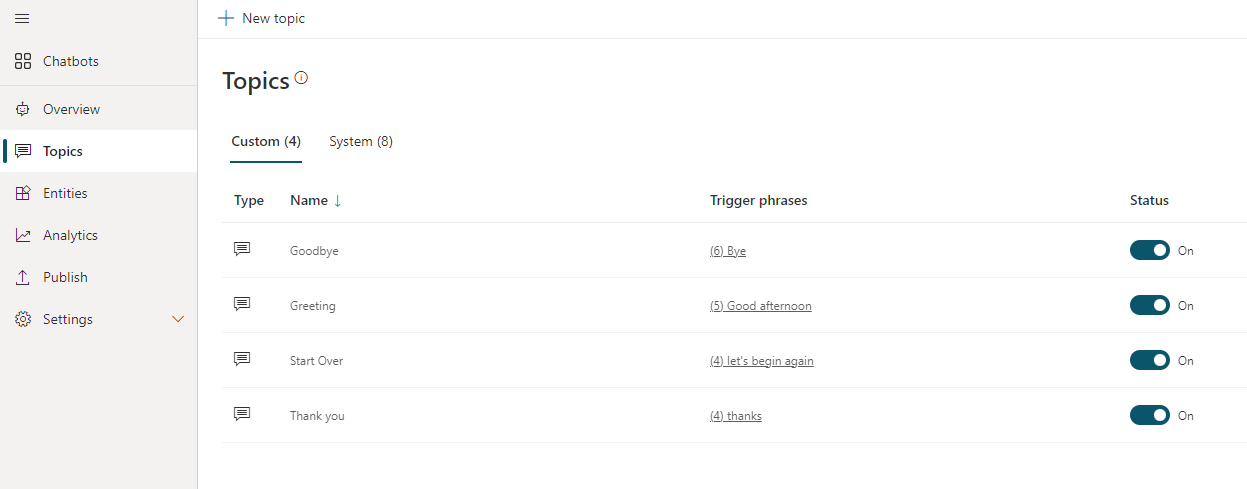
Let's add topics
Topics are the main component of chatbots. Users ask questions, and the chatbot answers them using “Topics.” This is very important. Every path you go through by asking a specific question is a single topic. To address many different questions, you must configure various topics.
Now, I will show you how you can create your 1st topic.
To add a topic, click “New topic” on the top and give it a name.
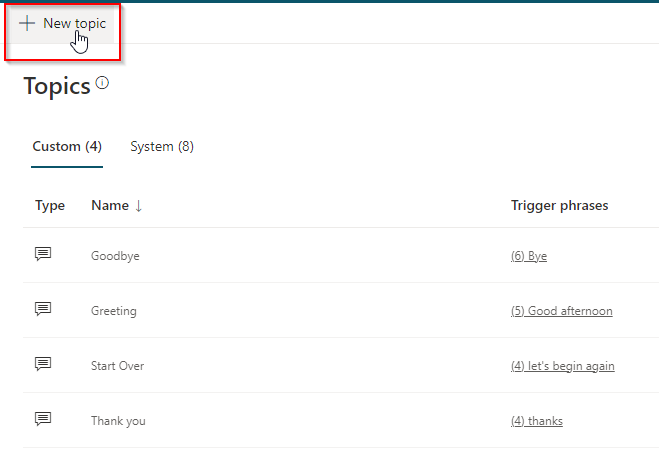
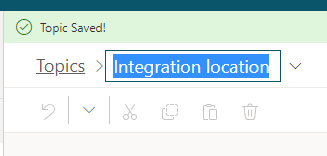
The 1st topic we will create will address the 1st question from our list which is: What is the location of the integration party?
To configure a topic we must provide phrases. You can do it using the right panel. You can see how I did that below.
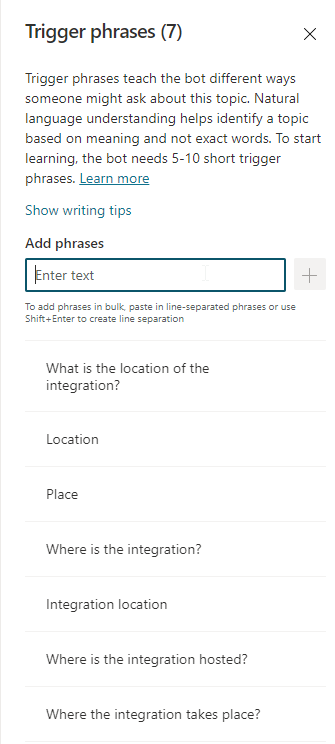
Add from 5 – 10 phrases. Remember, you don’t need to address every possible question. If a chatbot will encounter an unknown question, it will try to assess which topic is addressed by a User and it will navigate user to the proper topic – the one configure by you.
Now, let’s see how it looks like in the path:
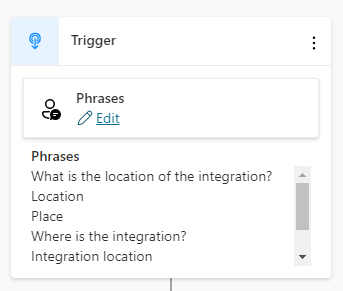
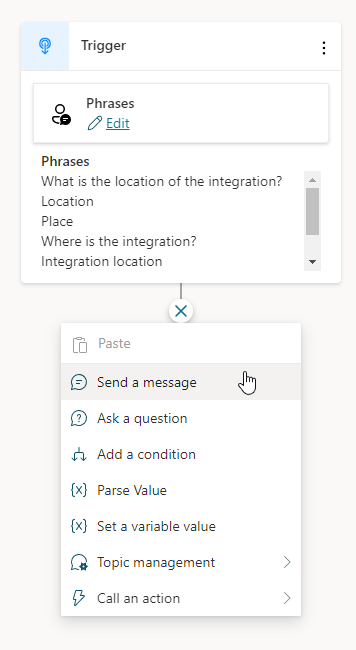
Now, we can add an answer. It is straightforward. Just click “+” below the trigger and then choose “Send a message” from the list.
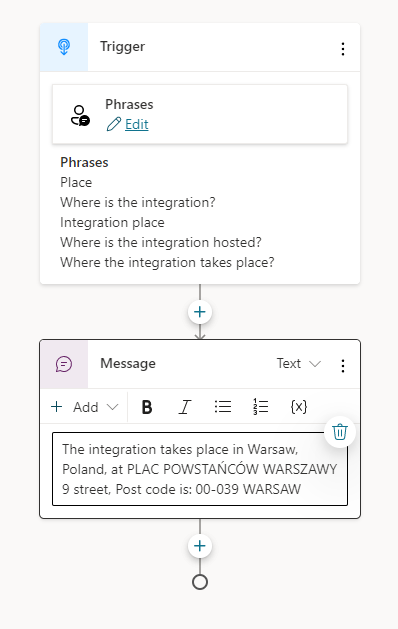
Let’s provide a message.
Finally, let’s finish this topic with “End current topic” action.
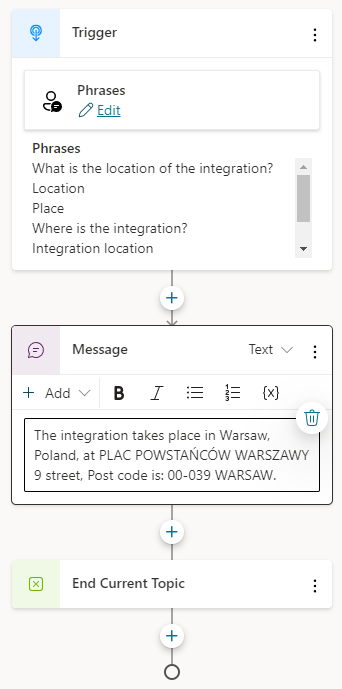
That’s it. We just configured our first topic! It will address the questions regarding the location of the integration.
Let’s test it!
Testing a chatbot
Remember to save your chatbot. To test it go to top right corner and click “Test bot”. You can also show “Test bot” panel using the button in the bottom left corner.
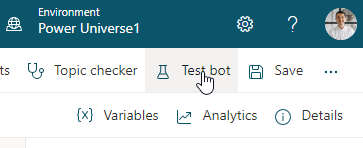
Let’s ask a few questions.
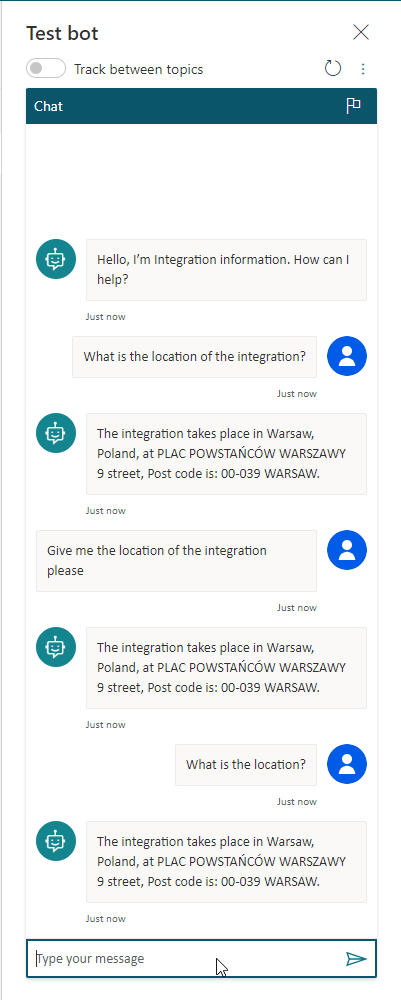
As you can see. The 1st question was the exact question we addressed in our Topic path. But the 2nd and the 3rd are different. We didn’t include them in our configuration, but the bot figured out that they are connected to the location, and the User wants to know the location of the integration. This is how you can do it. As you can see, this is very easy.
Now I will configure the other four topics to address all five topics. Then, we will learn how to finalize the configuration of a bot and how to embed it into the Teams!
Let's add a topic with a variable
Before we will finalize our configuration I just wanted to show you how you can add a topic with a variable – so a person chooses something, and based on the information a bot will proceed to the specific branch.
To do that, add a topic, name it and provide phrases.
Then add “Ask a question” option, like I did:
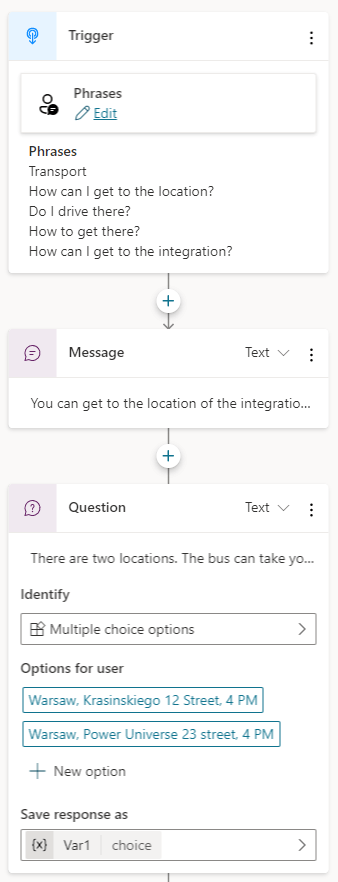
To finish the configuration provide an action – what bot should do if a user chooses a specific value. This is very simple example, but I just wanted to show you how you can configure that.
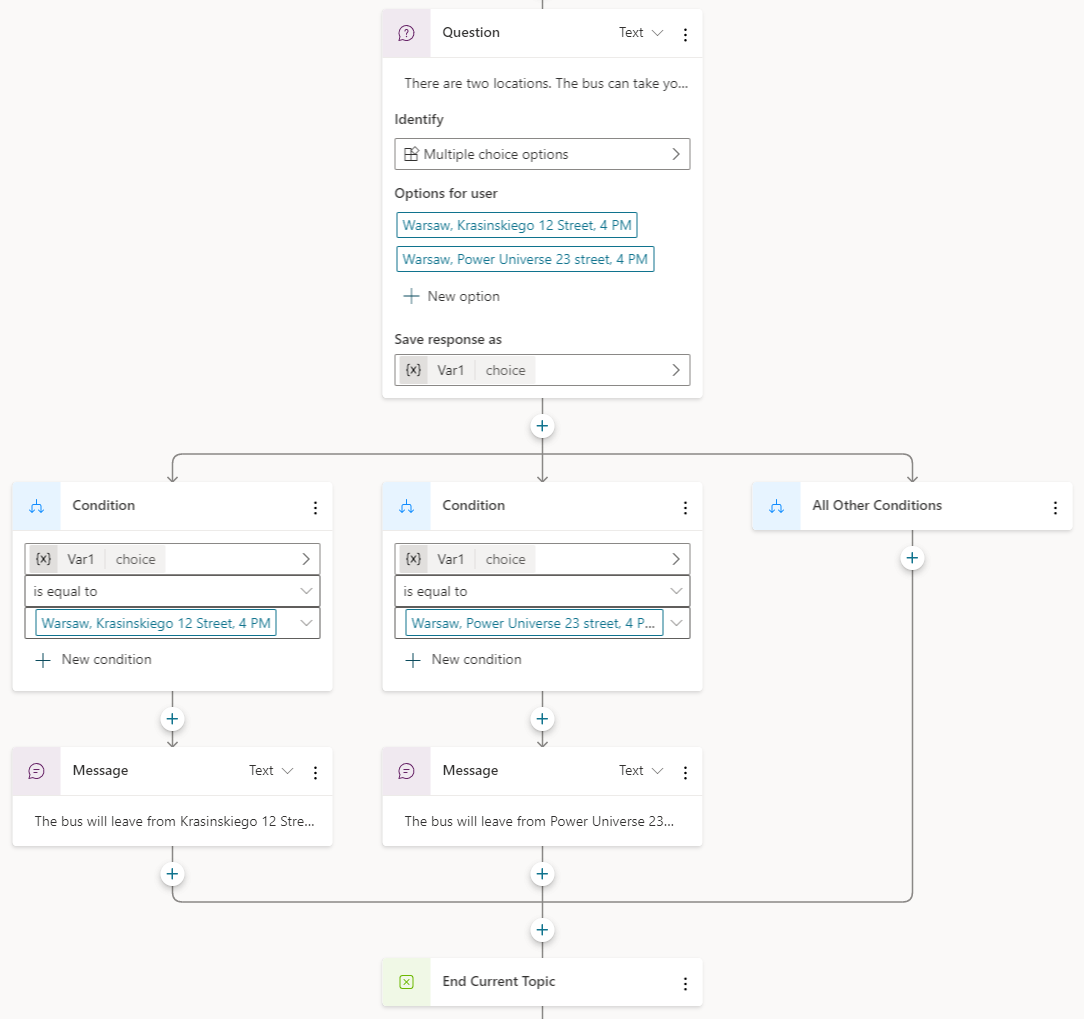
Let’s see how it works:
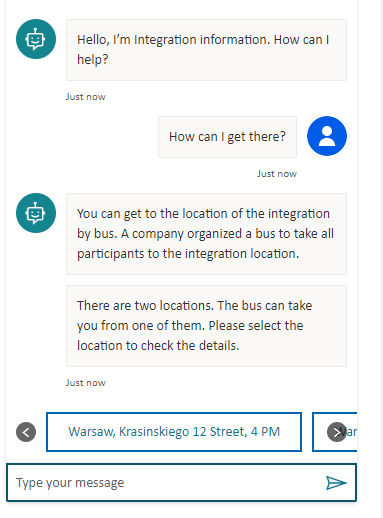
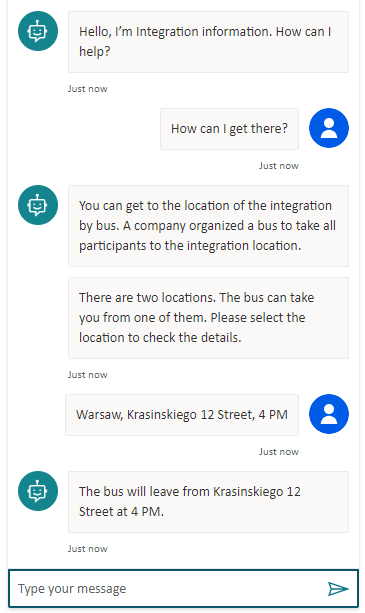
It looks and works great!
Let’s see how many topics we have now:
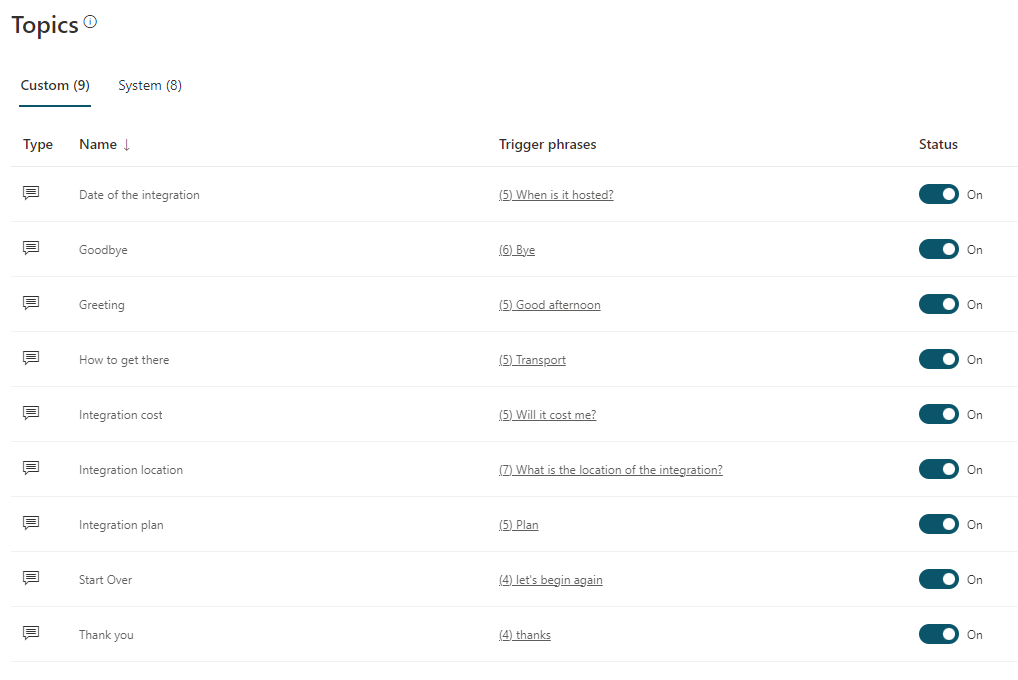
Other areas
I know many more areas in PVA, but I will not cover them in this article. PVA are way more powerful than I showed you here. I am confident that I will cover more advanced topics of Power Virtual Agents in the future. This article is meant to help you start!
Bot publishing
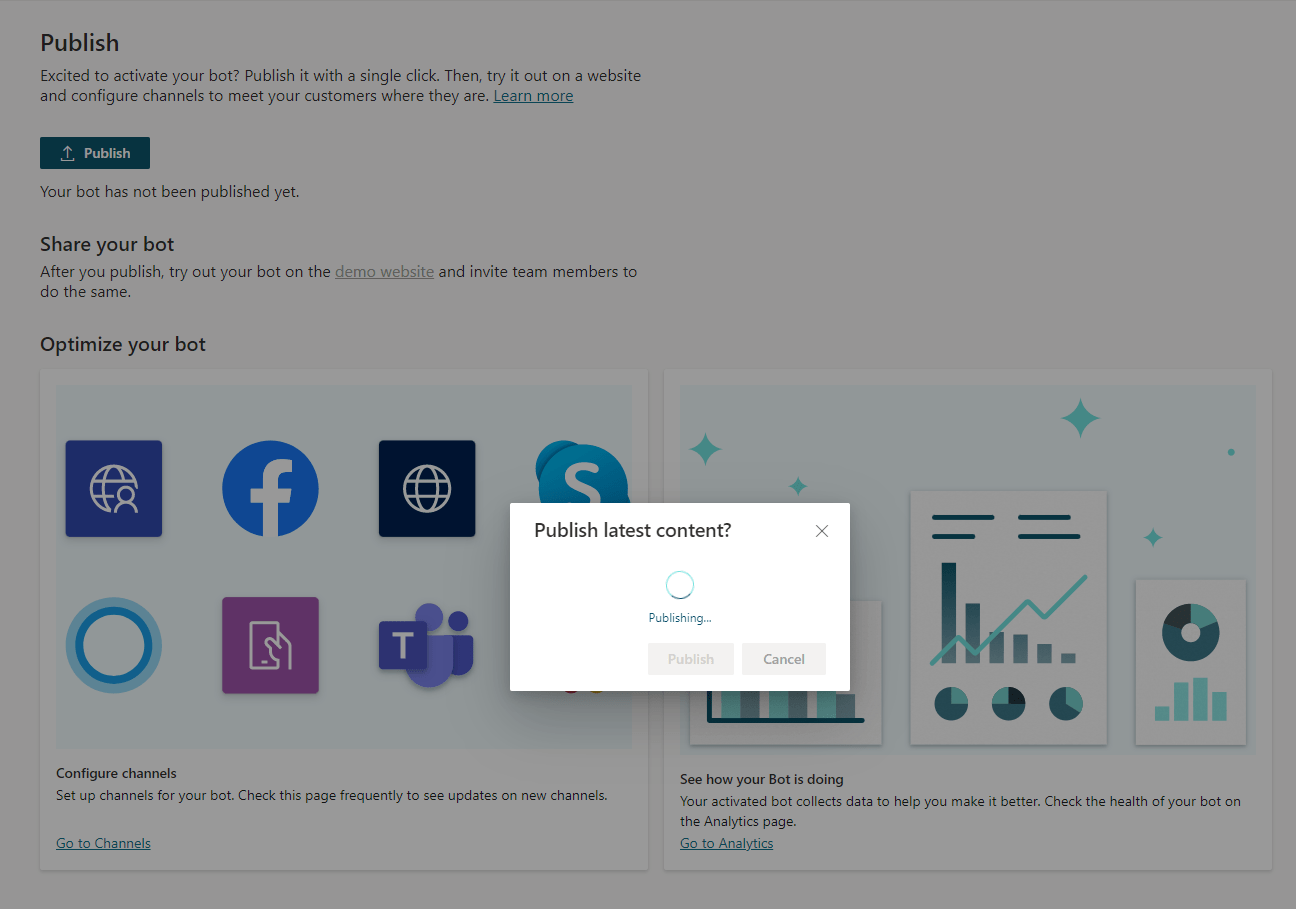
To publish the bot, go to “Overview” on the right and then press “Publish bot” .
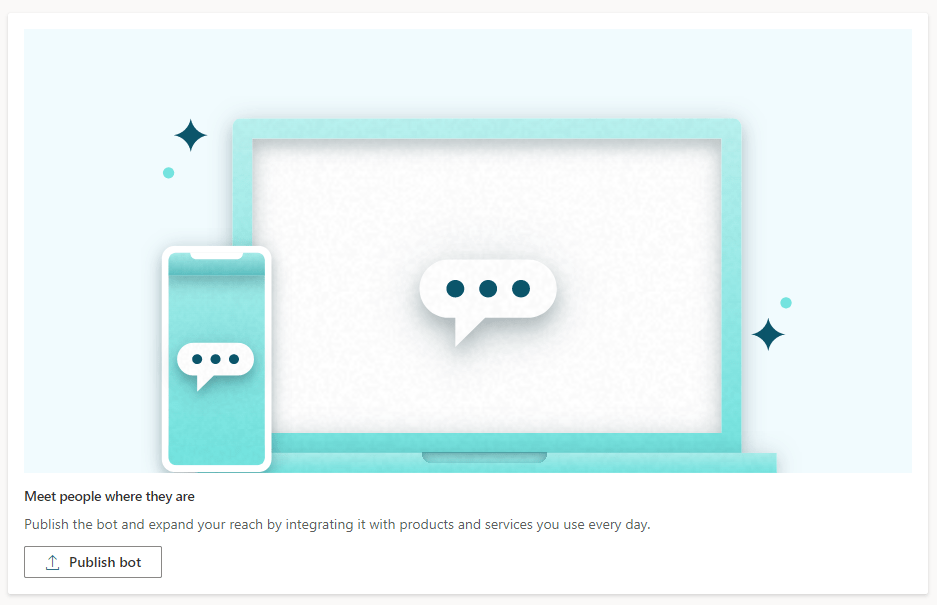
Here, you can once again test your bot, or you can publish it!
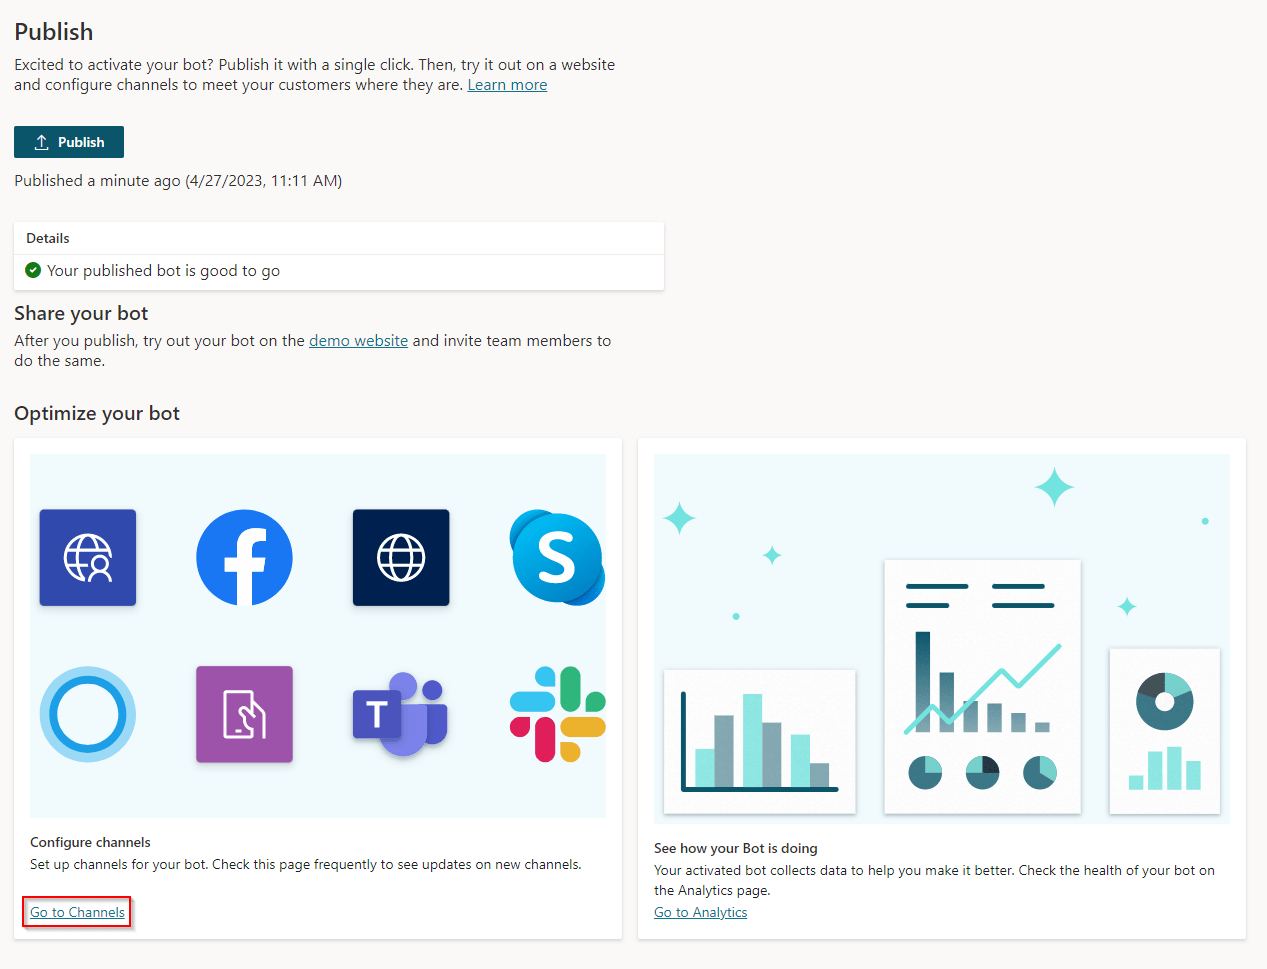
Now, we want our bot to run on Teams! To publish it to Teams we must go to “Channels” on the bottom.
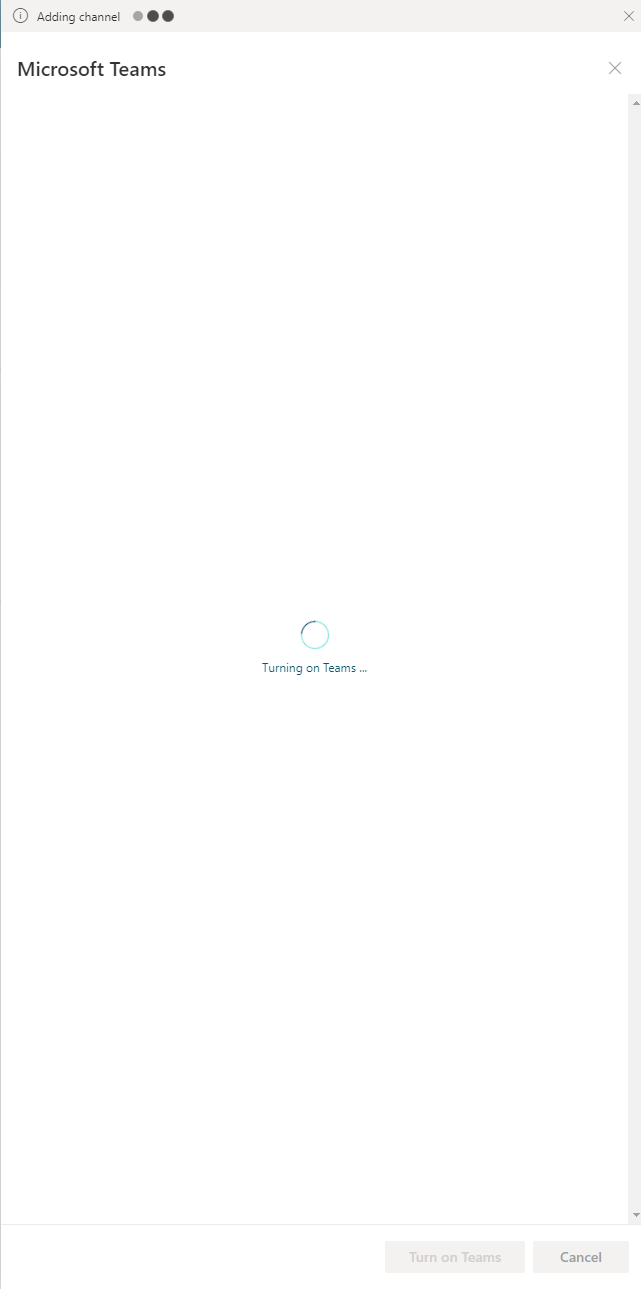
Now, we must choose a channel we want to use. And we use Teams! To do that click on Teams icon and then press

Now, we must choose a channel we want to use. And we use Teams! To do that, click the Teams icon and press “Turn on Teams.”
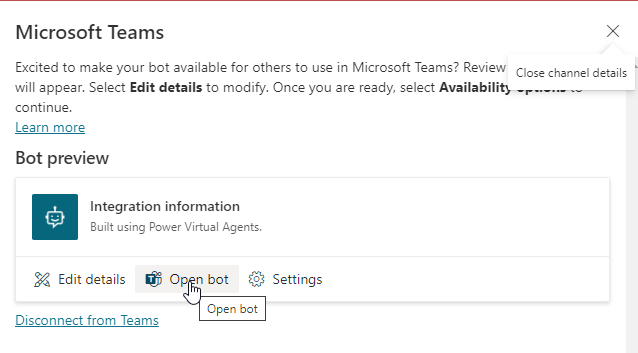
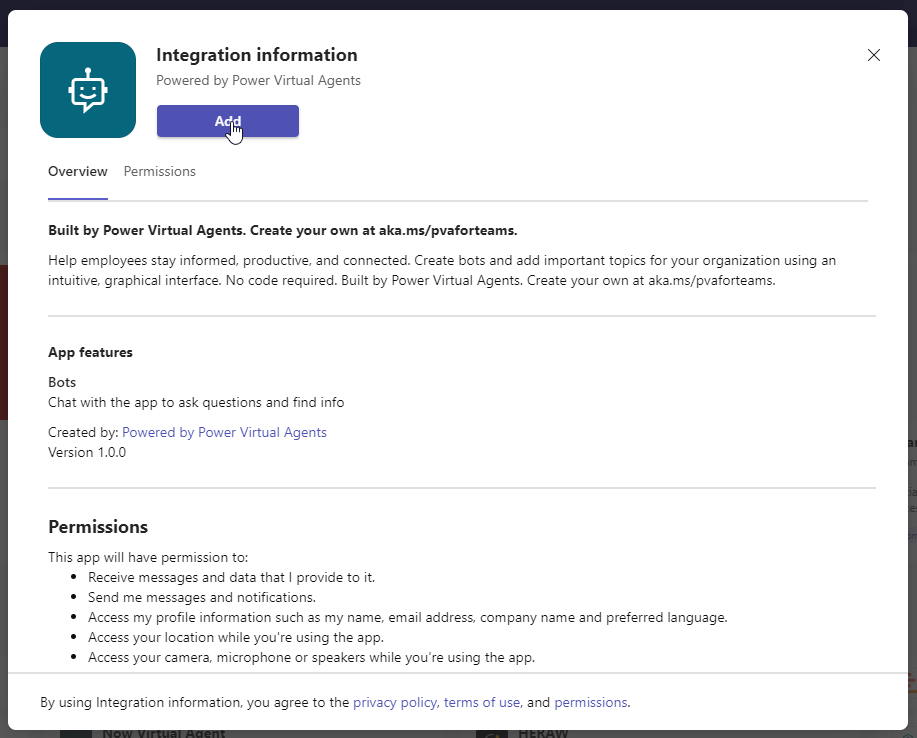
Now, we can open a bot in Teams.
To finalize, press “Add”.
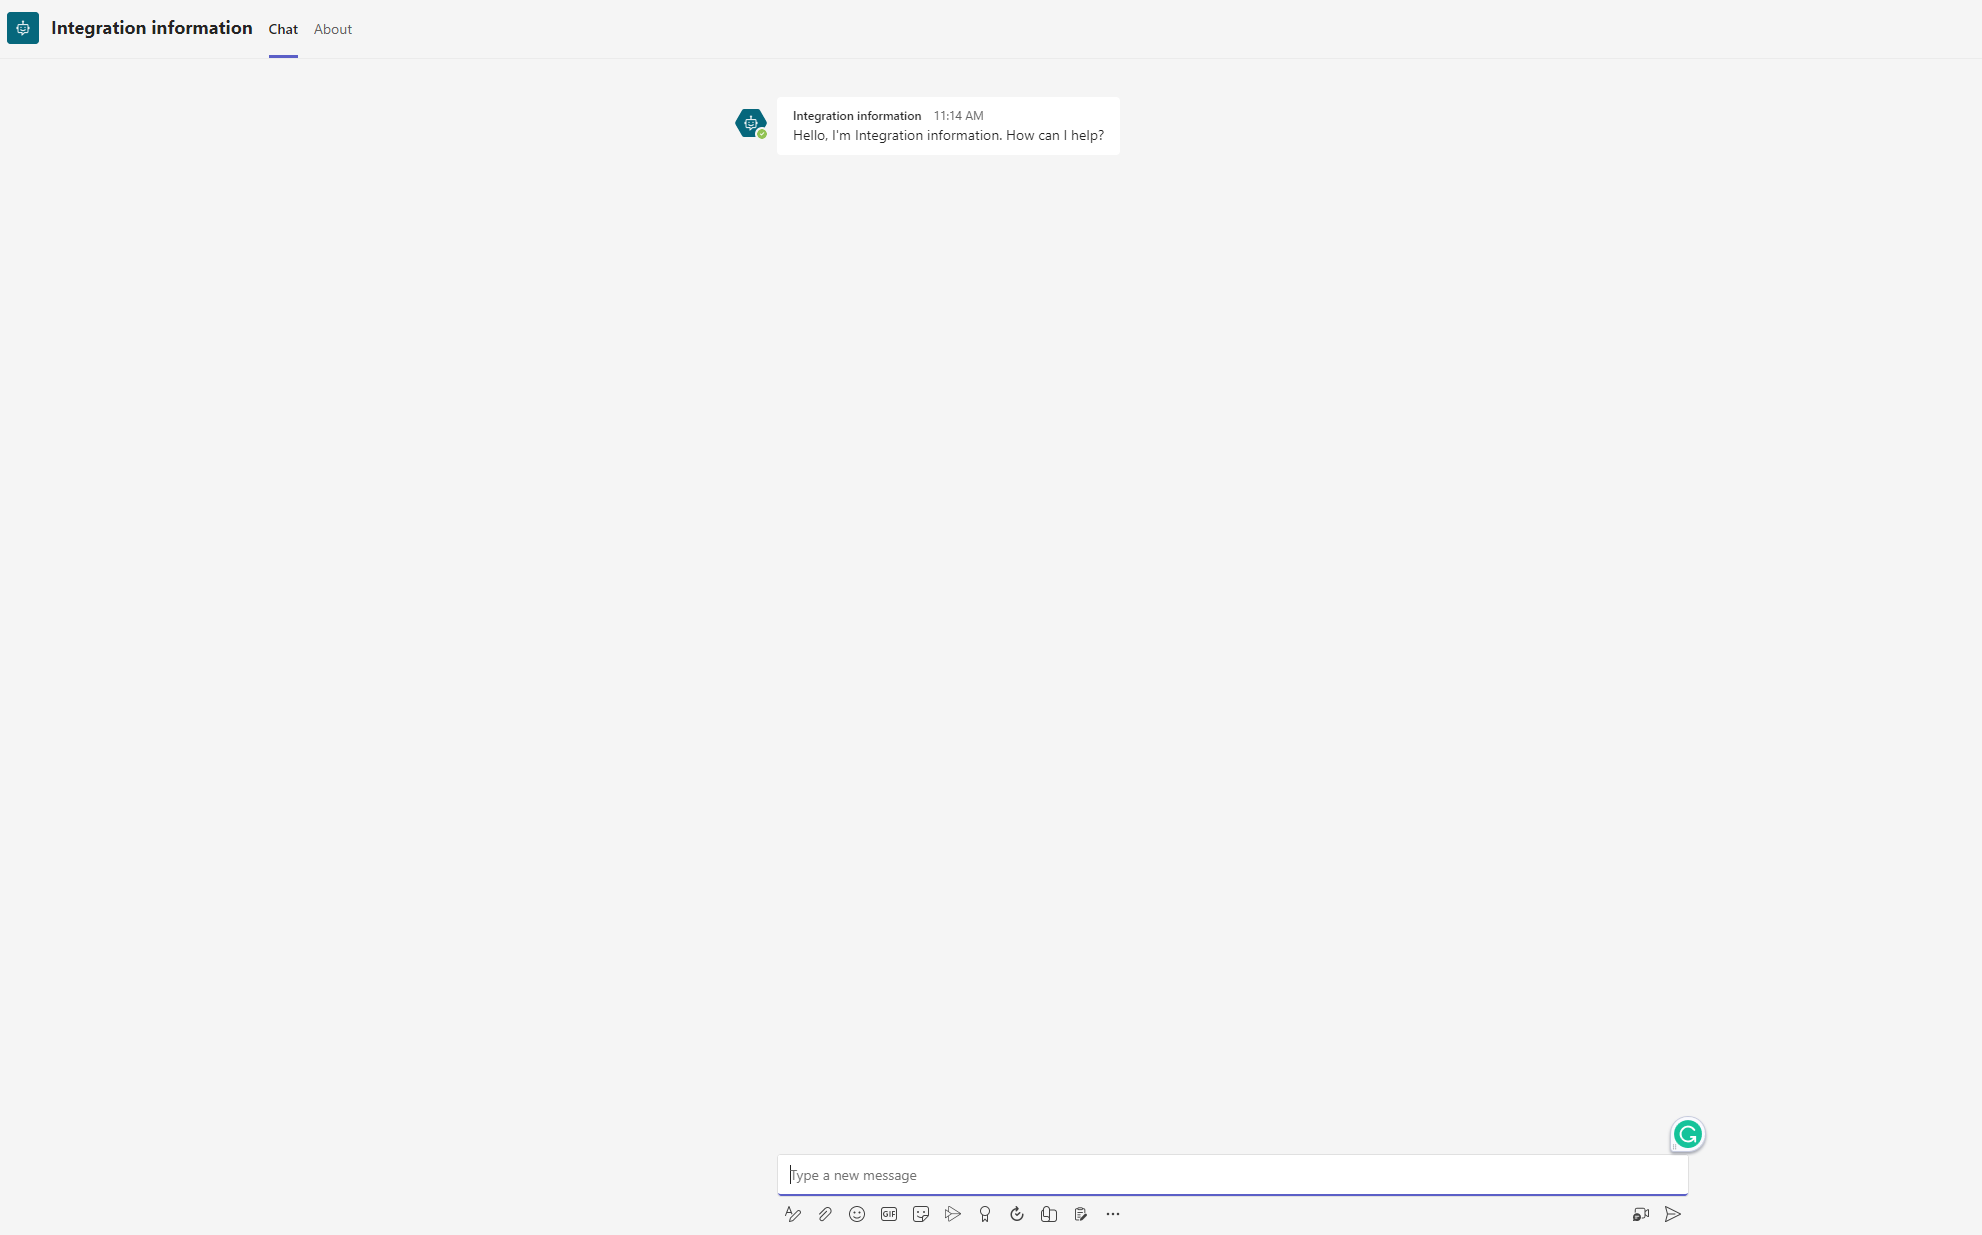
Yeeeeeeeeeeeeeey! It works! Let’s test it out.
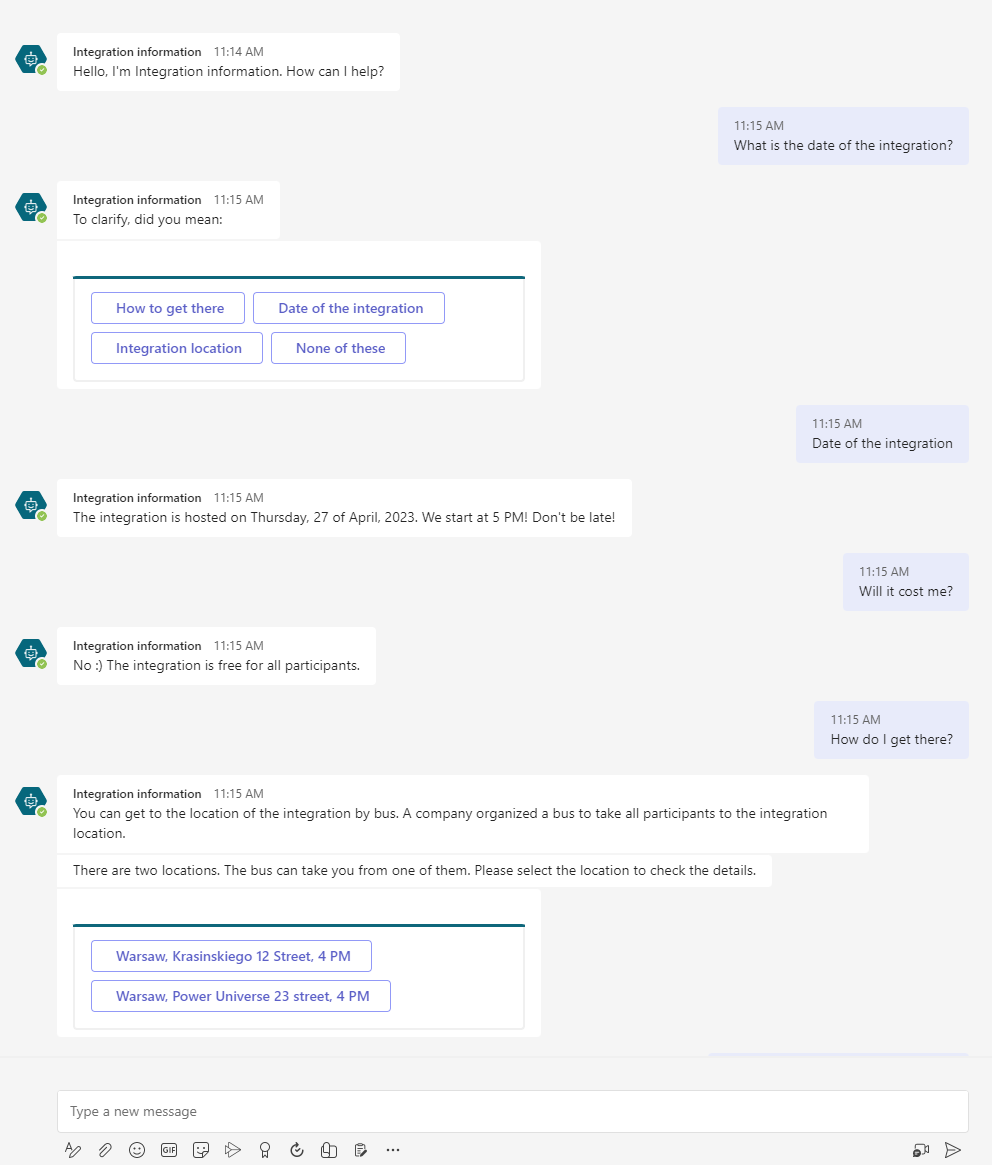
Huge success!
Summary

I hope you learned something from this article. You should know how to start and create your simple bot. They are powerful and helpful, especially with repeating tasks and questions that can be annoying after a while. Good luck with building your own Power Virtual Agents chatbot!
So, we are at this point where I should thank you for your time and reading this article. Feel free to rate this article and comment if you liked it. If you have any questions, feel free to contact me (via contact@poweruniverse.org), but first, you may be interested in joining a Newsletter. Hmm? (Sign up here) If you already did, wow, thanks, thanks a lot 
Via Newsletter, I am sharing insights into my work, plans for upcoming weeks, and knowledge about Power Platform Universe and the IT world. If you are interested, feel free to join! I am going to send the latest Newsletter to everyone who enters!
See you!

Daniel Ciećkiewicz
I am a Senior Power Platform Consultant focused on Dataverse, Power Apps, and Power Automate. I was also a Team Leader responsible for the Power Platform Team and their development paths.
In my private life, I like video games, sports, learning & gaining knowledge, and a taste of good Scotch Whisky!
Ooo, I almost forgot, I love our Polish Tatra Mountains!

Power Apps Licensing Explained
Power Apps Licensing – this is something every Power Platform expert must know. In this article I will walk you through the cons and pros of available plans.

Understand Delegation in Power Apps
In this article I will walk you through delegation in Power Apps and I will show you many interesting concepts how to work with delegation and understand Delegation in Power Apps!

Connection vs connection reference in Power Platform
In this article I will tell you what is the difference between connection and connection reference in Power Platform. It is very good to know the advantages.

Overview of a Tenant Isolation in the Power Platform
What is Tenant Isolation in the Power Platform? How does it work and how do you know it will be good for your organization? Check the article!

The most interesting Power Platform features of 2024 – Wave 1 update
Do you want to know what updates are coming in 2024? This article will tell you more about incoming updates for Power Platform in Wave 1.

Use a Service Principal to run Dataverse actions in Power Automate
Do you want to learn how to use a Service Principal to work with Dataverse actions in Power Automate? This article is for you. Check it out.