Overview of column-level security in Dataverse [#shorts]
- December 16, 2022
Daniel Cieckiewicz
What must you know?
Column-level Security is one of many ways to secure your data in Dataverse. It allows you to set up a particular type of security for a column. You can implement this security model for many columns in your Dataverse table.
Column-level security very often comes after Row Level Security. If a Row Level Security is not enough for a system and some data need additional security measures the Column-level security is the right approach.
Column-level security can be configurated using a security profile.
Let’s assume you have a table that stores information about the Clients. This table has columns that show each Client’s name, surname, and date of birth. You don’t want to show the Client details to the application users. To secure the data, you must hide the values of those columns. However, some Users should be able to update or add values when the record is created. But any User should be able to see the values whatsoever.
In this article, I will explain how to implement Column-level security for the example I just showed you.
Column-level security is available for the default columns on most out-of-box tables, custom columns, and custom columns on custom tables. Column-level security is managed by the security profiles. To implement column-level security, a system administrator performs the following tasks.
Microsoft

How to enable Column-level security for a column?
To enable Column-level security for a custom column, navigate to the column you want to secure. Go to the column’s settings and then click “Column-level security.” The option should be available at the bottom of a properties box.

I performed this action for all columns in my custom table:
- First name
- Surname
- Date of Birth
Those are the columns I want to secure.
In this place (column properties), we are done. There are no more actions required.
This is what my data looks like:

How to create security profile?
There are two ways of creating security profile:
- From a solution
- From the Admin Center
Creating security profile from Admin Center
To create a security profile from Admin Center, navigate to the Admin Center, choose the Environment -> Settings -> Users + permissions, and click “Column security profiles”:

Creating security profile from the solution
To create a security profile from the solution, navigate to the solution, then click “+ New” -> “Security -> “Column security profile.”

Creating security profile
After we have chosen the way we want to create a security profile, the form will appear on the screen.

Provide a name for the column security profile and click the “Save” button on the bottom. Column security profile will appear in the list of already created profiles:

To configure the Column security profile, click on the profile’s name. The system will display the available options and columns for configuring the security profile. The only available columns are those with the checkbox “Enable column security” marked.
Here I picked all of my custom columns. By configuring the Column Permission level, I will allow Users to “Update” values for those 3 columns.

To provide changes to Column Permission, mark a column and click “Edit” on the top.

To allow the update of values in the “Update” option, choose “Allowed” and Save changes. From now on, Users with assigned “ClientSecurityProfile” will be able to update values in those columns:

Setting app the application and the Team
We must set up a simple application to see how column-level security works. I have created a Model-driven app and chose my “Clients” table record to be visible at the front. I also made two test records.

The last missing piece to make this work is a Team assigned to the Business Unit. Let’s create a Team that will allow Users to manage Clients. Here is a creation screen:

Now, let’s add a person to this group.

And finally, we must create a security role for the Team so that people can access the table.

After that, just assign the security role to the Team:

Assigning a Team to the column security profile
To assign a Team to the column security profile, just simply navigate to the column security profile and open the “Teams” tab.

Remember! – If you will create a security profile and you will not assign anybody to this column security profile – columns for Users will be blocked:

To finish the assignment, choose a Team that you want to assign.

Results
From now on, the Users from the “Clients Editors” Team can Update the values in the Clients table, but they won’t see the values and will not be allowed to create them for the Clients.
This is the view of records for our TEST User. The User can’t see the values.

This is the Create form. The user can create a record but cannot provide values while doing so.

This is the Edit form. The user can update values but is not able to see them.

Summary

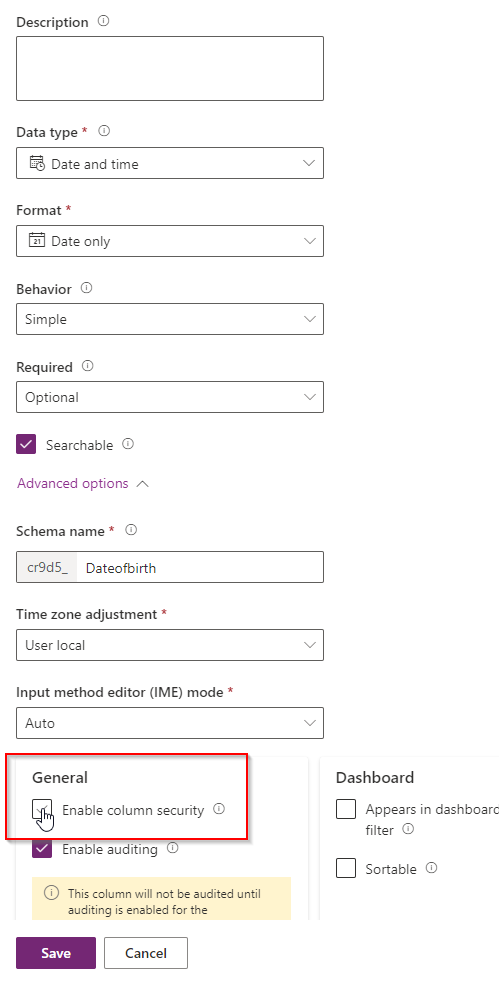
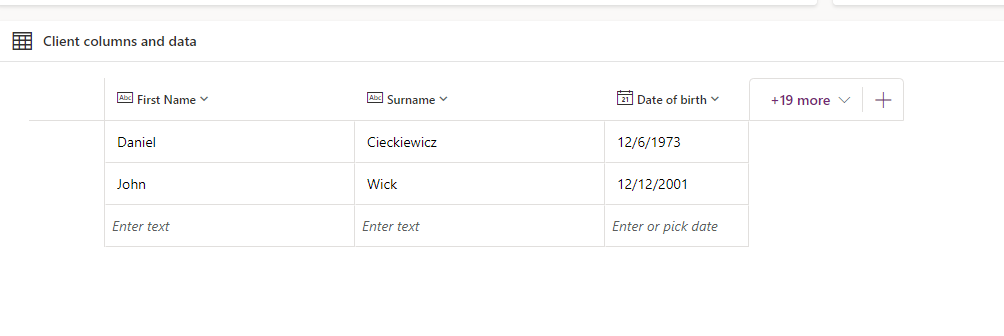
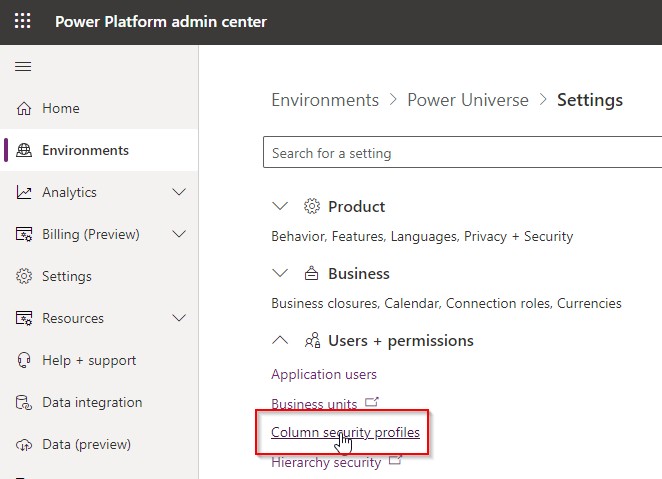
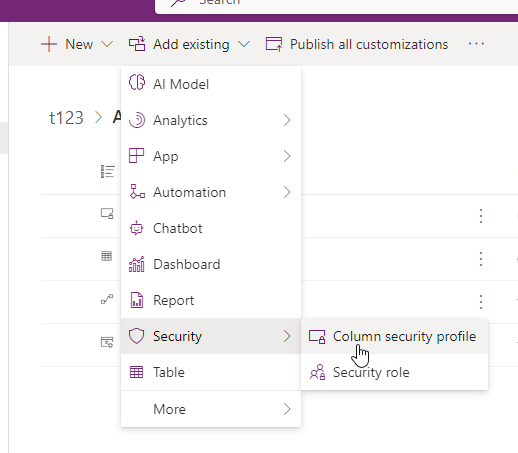
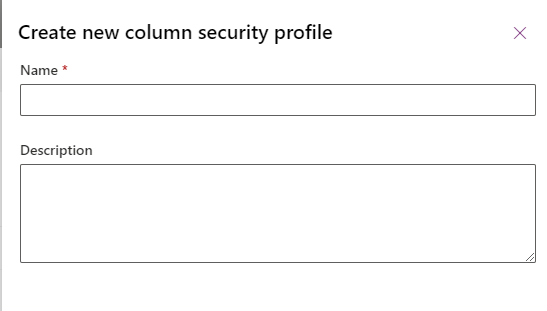
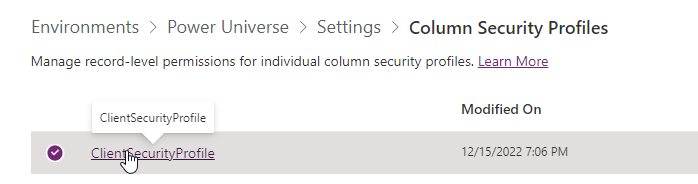
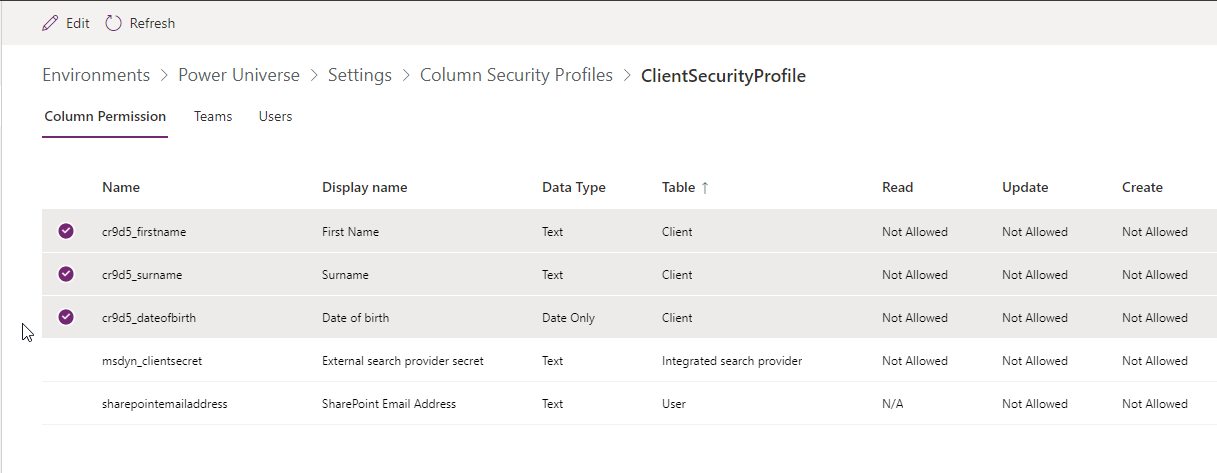
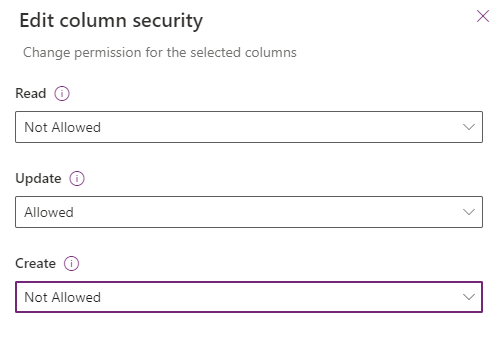
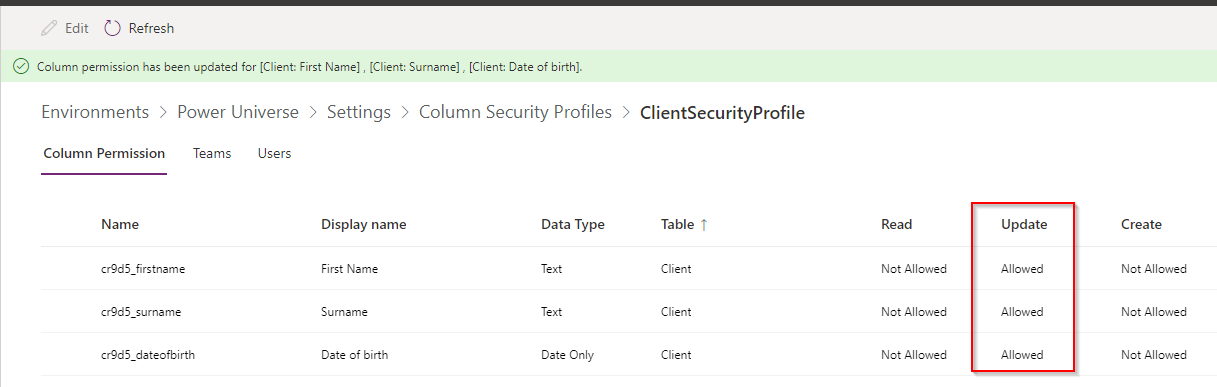
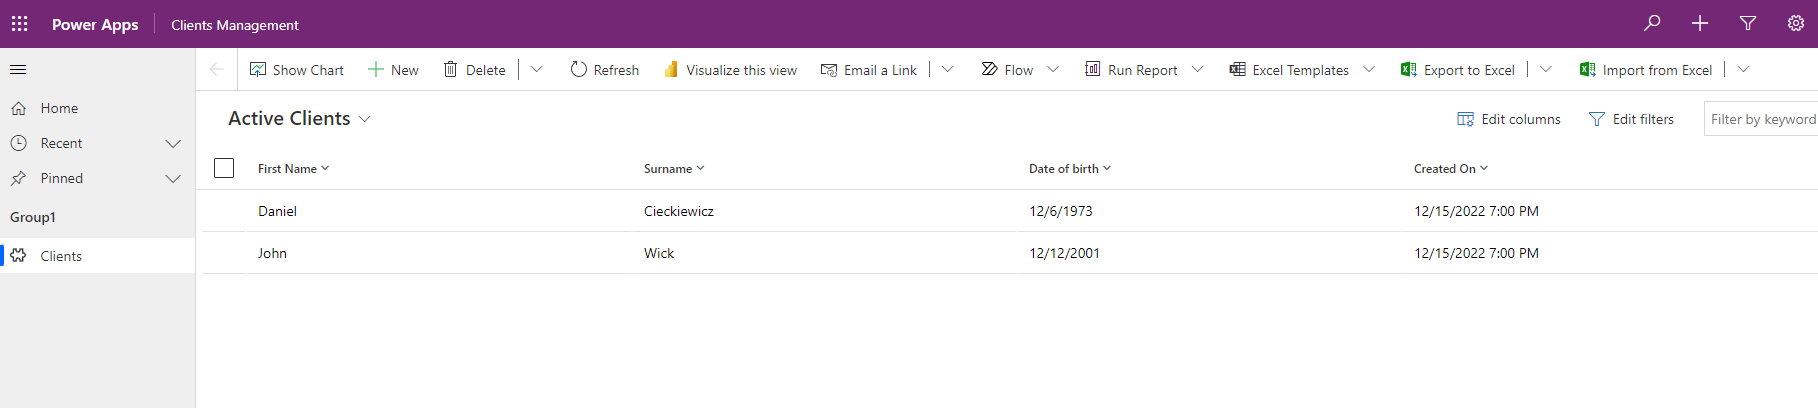
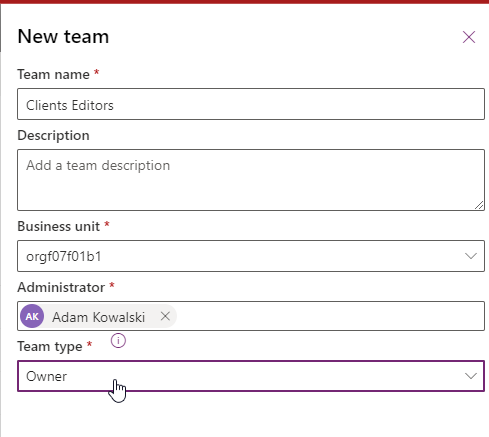
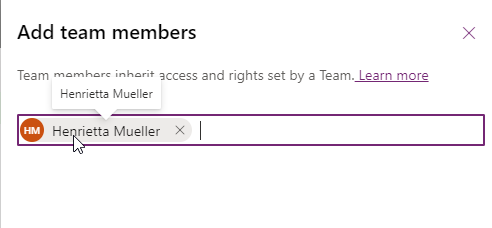
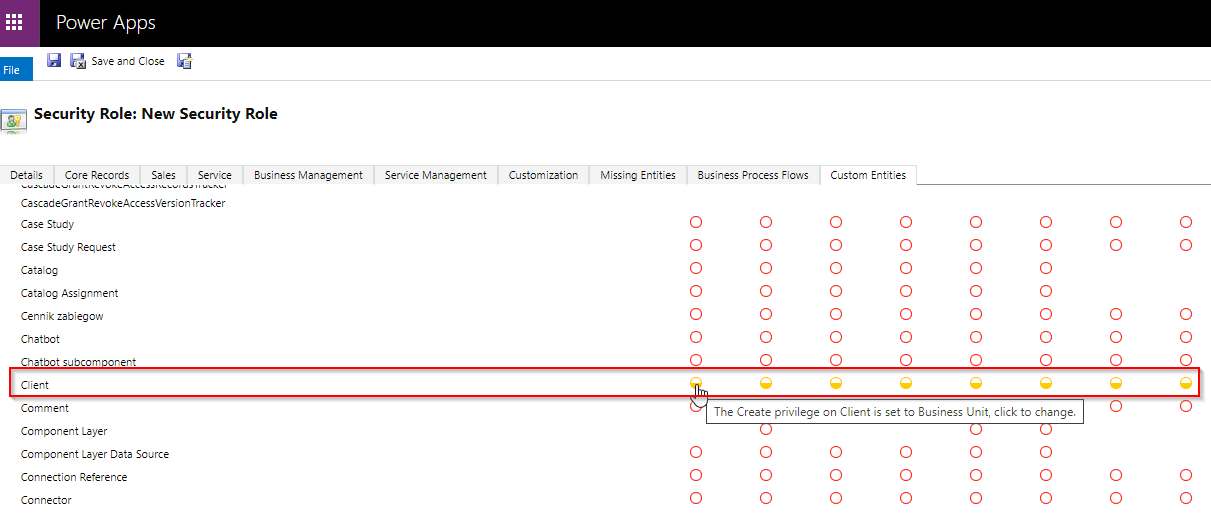
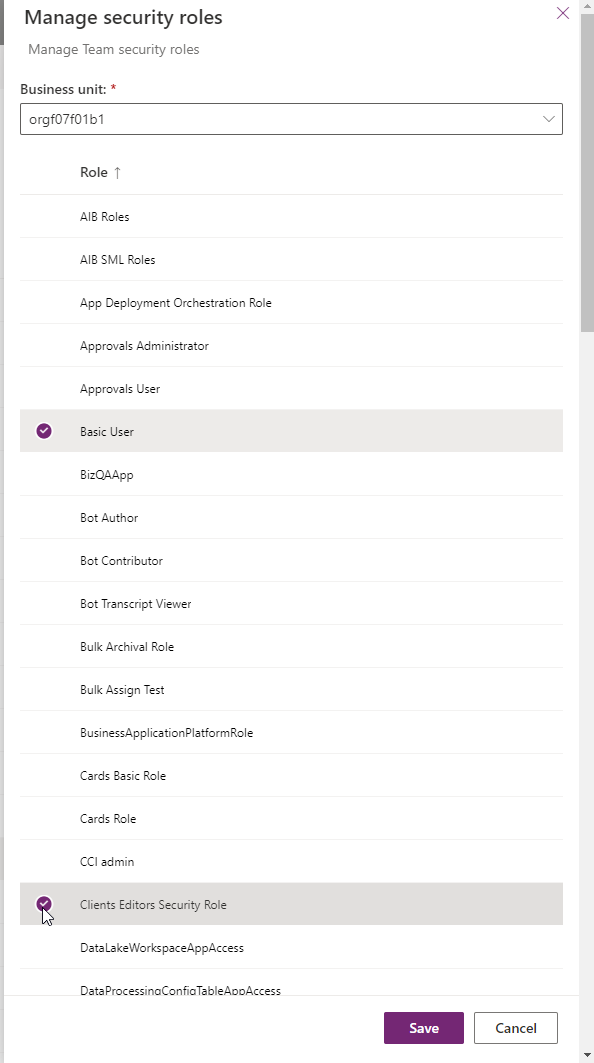
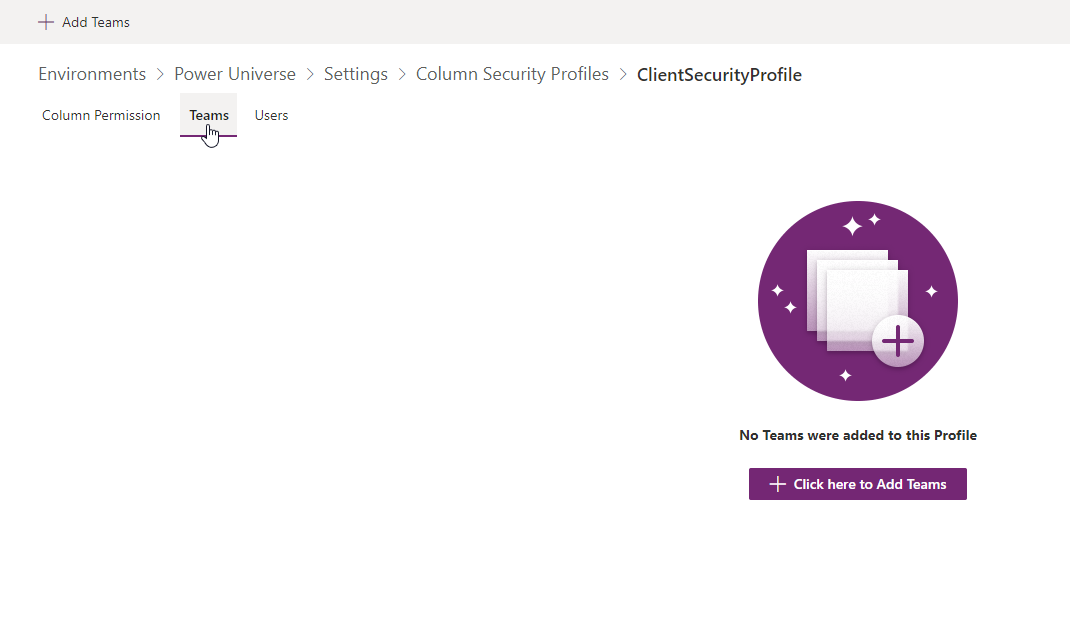
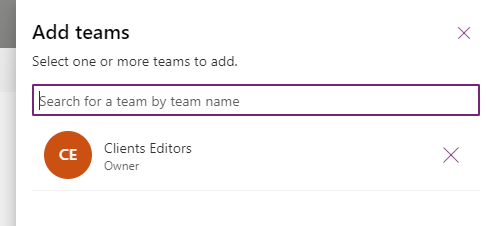
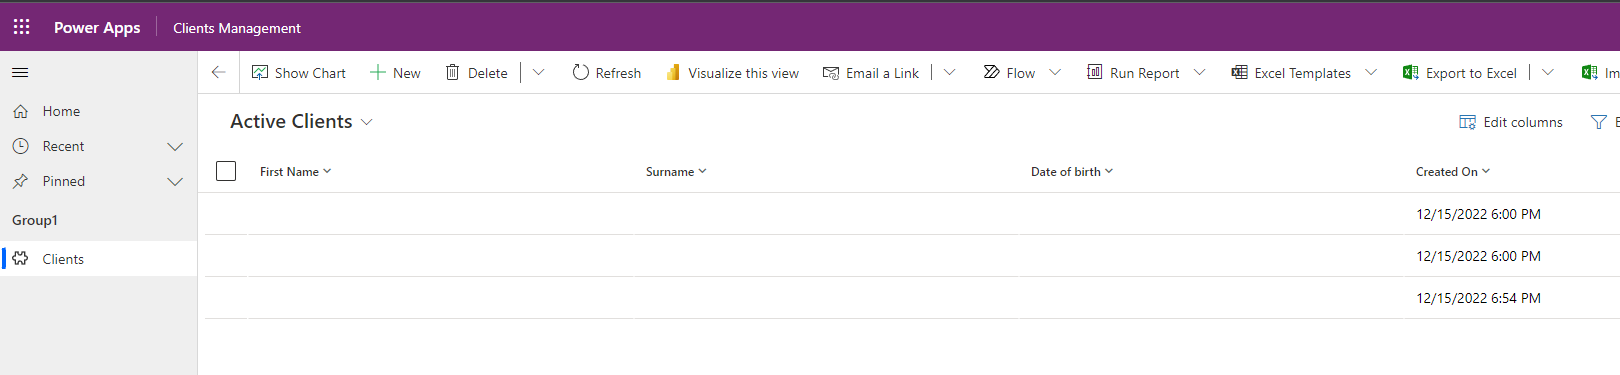
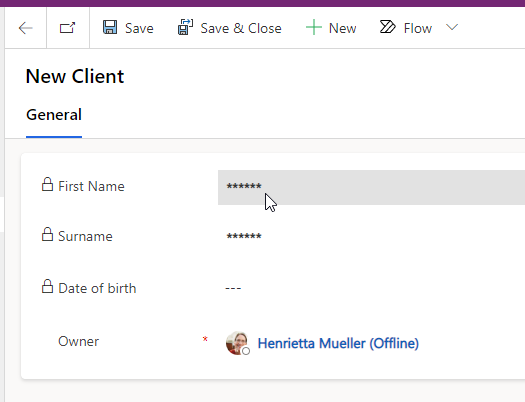
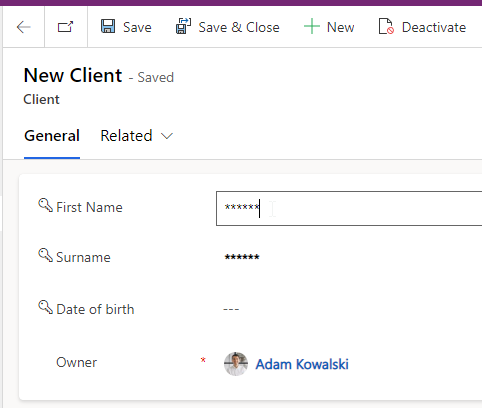
The column-level security is really simple to implement. But it is very powerful. If you want to secure the columns, so users should not see or should not be able to update values column-level security is the thing you want to implement! You can set up column level security for different types of columns and also for those included in a solution, because the column security profile can be added to the solution. I hope you learned something!
So, finally, we are at this point where I should thank you for your time and for reading this article. Feel free to rate this article and comment if you liked it. If you have any questions, feel free to contact me (via contact@poweruniverse.org), but first, you may be interested in joining a Newsletter. Hmm? (Sign up here) If you already did, wow, thanks, thanks a lot
Via Newsletter, I am sharing insights into my work, plans for upcoming weeks, and knowledge about Power Platform Universe and the IT world. If you are interested, feel free to join! I am going to send the latest Newsletter to everyone who enters!
See you!

Daniel Ciećkiewicz
I am a Senior Power Platform Consultant focused on Dataverse, Power Apps, and Power Automate. I was also a Team Leader responsible for the Power Platform Team and their development paths.
In my private life, I like video games, sports, learning & gaining knowledge, and a taste of good Scotch Whisky!
Ooo, I almost forgot, I love our Polish Tatra Mountains!

Power Apps Licensing Explained
Power Apps Licensing – this is something every Power Platform expert must know. In this article I will walk you through the cons and pros of available plans.

Understand Delegation in Power Apps
In this article I will walk you through delegation in Power Apps and I will show you many interesting concepts how to work with delegation and understand Delegation in Power Apps!

Connection vs connection reference in Power Platform
In this article I will tell you what is the difference between connection and connection reference in Power Platform. It is very good to know the advantages.

Updated Power Apps Licensing Overview
Do you want to learn how updated Power Apps Licensing works? Click the link and check out what has changed on August 2023 in Power Apps!

Disable Local Sign In in Power Pages
Would you like to learn how to Disable Local Sign In in Power Pages? In this tutorial, I will show you how to do this. Check it out.

When you don’t need Power Apps premium license?
Do you want to learn when you don’t need Power Apps premium license? If your response to this question is yes – check out this article.

When you don’t need Power Apps premium license?
Do you want to learn when you don’t need Power Apps premium license? If your response to this question is yes – check out this article.

Power Apps premium features and when you need a license
Do you want to learn more about Power Apps premium features and when you need a license? Then, you should definitely check this article out.

Disable Local Sign In in Power Pages
Would you like to learn how to Disable Local Sign In in Power Pages? In this tutorial, I will show you how to do this. Check it out.

Create Power Apps Model-driven Apps – Part 2
Create Power Apps Model-driven Apps – Part 2 is a Tutorial showing how to create Power Apps Model-driven Apps and Dataverse in Power Platform